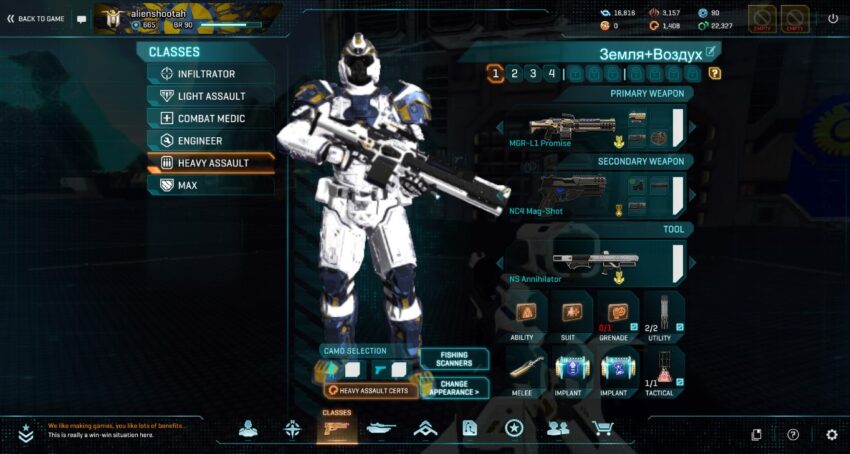
I wanted to put together a brief overview of the implants in PlanetSide 2 that are worth upgrading for new players—and the ones I personally used during my years of playing as the New Conglomerate.
General information:
- Implants can be crafted using ISO-4.
- All implants, except for special ones, have multiple upgrade tiers.
- The higher the implant’s tier, the greater the bonus it provides.
- The final tier offers a significant boost of around 50%.
- Special implants do not have tiers, but they possess unique properties.
- Each character can equip two different implants.
Standard implants
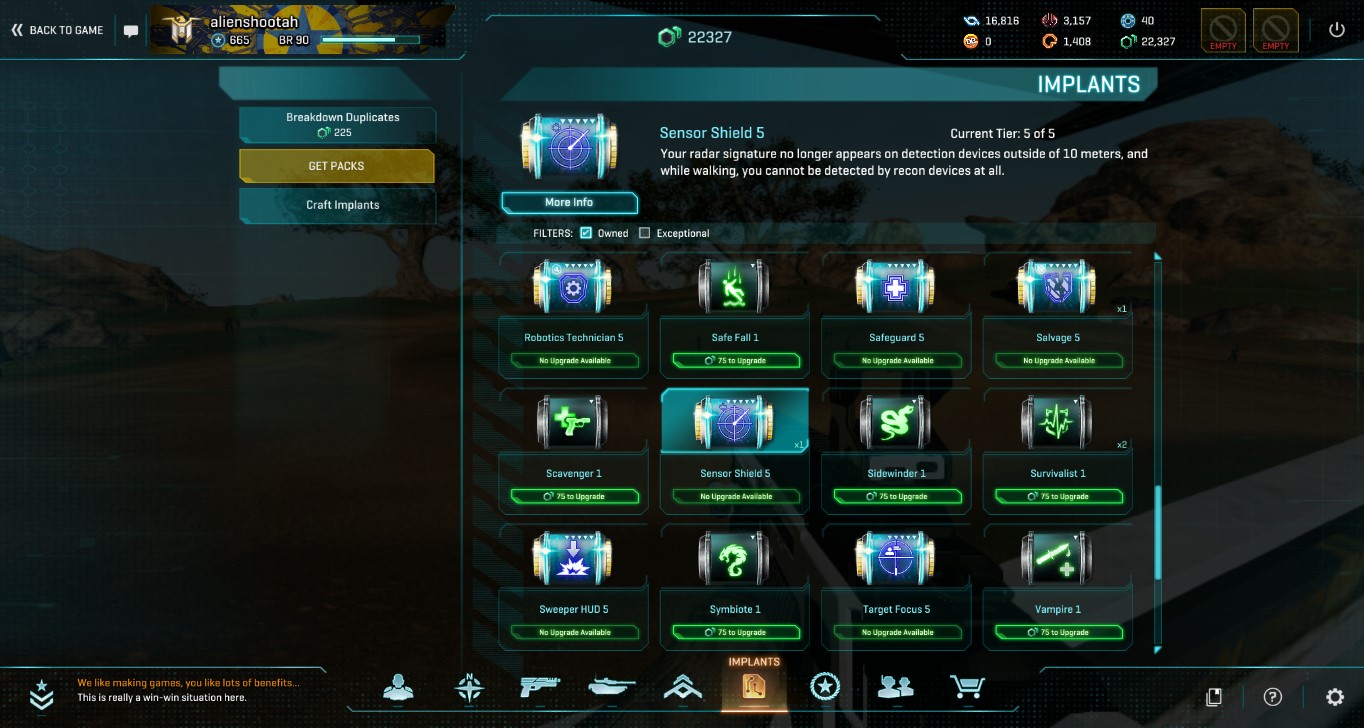
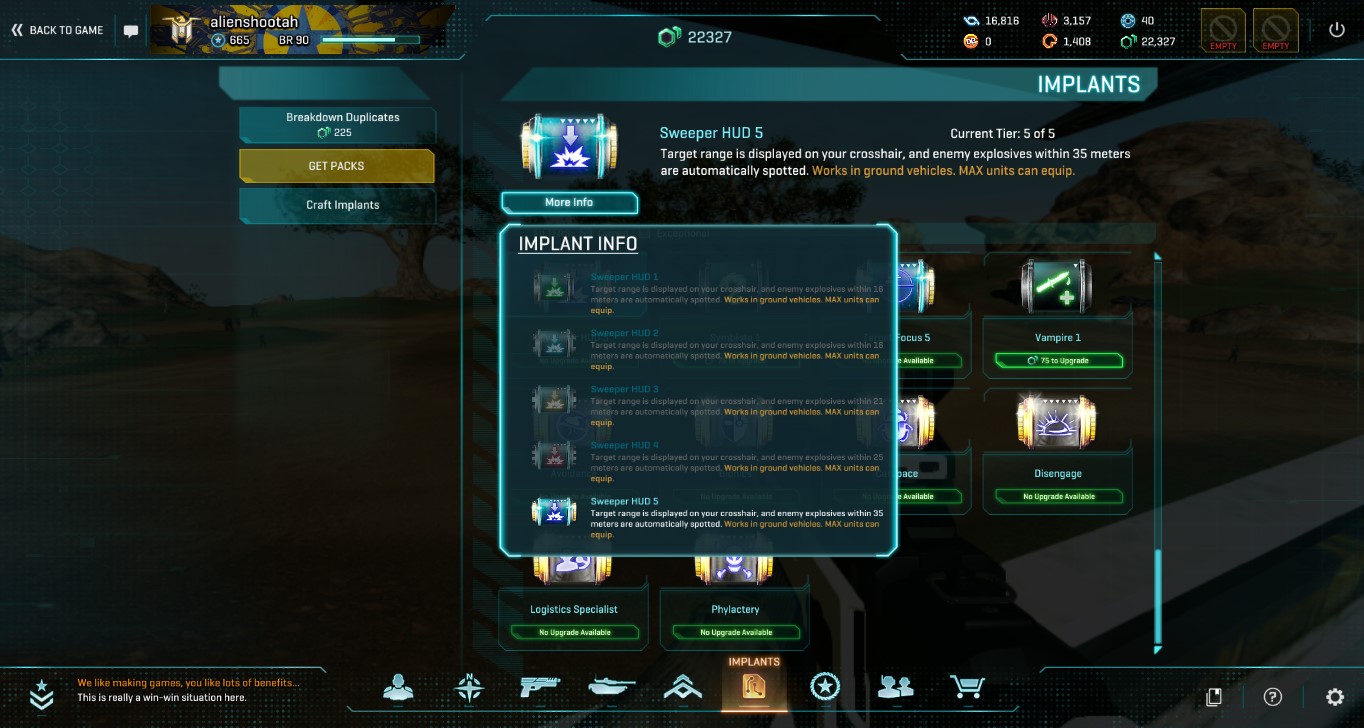
Sweeper HUD – A good choice if you spend most of your time in ground vehicles or are tired of getting blown up by anti-personnel mines indoors. At the final upgrade level, it provides a significant 35-meter detection radius for enemy mines, highlighting them for both you and your allies.
Sensor Shield – This implant is for those who frequently die from ground and air vehicles or saboteurs. It is also useful when spending most of your playtime in enemy territory. At the final upgrade tier, you do not appear on the minimaps of vehicles equipped with motion detectors, and it becomes harder for the enemy to detect you using saboteur radar.
Ammo Printer – This is a must-have implant; on a cooldown of about a minute, it replenishes your personal ammo and your vehicle’s ammunition out of nowhere—whether you’re flying a fighter jet or driving a tank, your ammo gets restocked.

Assassin – A good implant for an Infiltrator using a sniper loadout: firing at an enemy highlights them for your allies on the minimap, increasing the likelihood of the opponent’s death. A standard kill from a distance of over 50 meters prevents you from being spotted for one second; a headshot has the same effect and works at any range.

Athlete – helps you run more often and for longer periods when holding down the Shift key. If you run for more than 6 seconds, your speed increases by 10%. It is a niche implant that appeals to specific playstyles.
Catlike – an implant designed for the Saboteur class in a sniper loadout; it allows you to move 75% faster while crouching. It also lets you jump higher and climb onto rocks, trees, and rooftops, enabling attacks from unexpected angles.

Deep Operative – works only on the Saboteur. It temporarily reduces your cloak’s visibility by 75% while moving. It is not frequently used, so you can skip upgrading it.
Covert Drop – temporarily renders you invisible when bailing out of a fighter jet or taking fall damage. A solid choice for surviving a redeploy drop.

Electrotech – an Engineer-specific implant. When your shield breaks, it restores 300 health over 4 seconds to all mechanical structures (such as turrets, auto-turrets, and defensive barriers) within a 10-meter radius.
Joskey – a great implant if you are manning a turret as an Engineer or running over infantry on a Flash ATV as an Infiltrator. It grants 50% extra shield capacity when using a turret, and provides an additional 20% shield to an ally when riding the Flash.
Target Focus is an implant designed for beginners and Infiltrators; it allows you to see the remaining health of enemy infantry or vehicles when you aim at them.

Mending Field allows a Medic to restore health to allies with less than 300 HP within a 7-meter radius; the Medic’s shield-recharging device also gains this same capability.

Mobility Mesh removes the movement penalty for heavy infantry when their shield ability is active (which reduces incoming damage); it also increases movement speed by 10% while the shield is up. In short, you can freely run around with your overshield active.
Nanomesh Specialist – exclusive to Heavy Assault; your damage-mitigation shield lasts 80% longer when stationary and 40% longer while moving. This implant is commonly paired with Mobility Mesh.

Ocular Shield – a niche implant; I’ve seen it used in MAX loadouts to reduce the effects of flash, concussion, and EMP grenades. It doesn’t necessarily need to be upgraded.
Regeneration – passively restores 35 health per second after 10 seconds out of combat; additionally, a headshot instantly restores 200 health. It’s not a particularly strong implant—more average—but it works well as a secondary implant for any class.

Robotics Technician – for Engineers only; turrets gain 25% resistance and regenerate 25 HP per second, even while taking damage. Optional.
Safeguard – upon being revived by a Medic, you gain 20% resistance for 3.5 seconds and instantly restore 200 shields. Optional.

Salvage – for MAX units only. Killing other MAX units instantly restores 800 HP; if the MAX was killed within a 5-meter radius, you gain an additional 200 HP.
Special implants
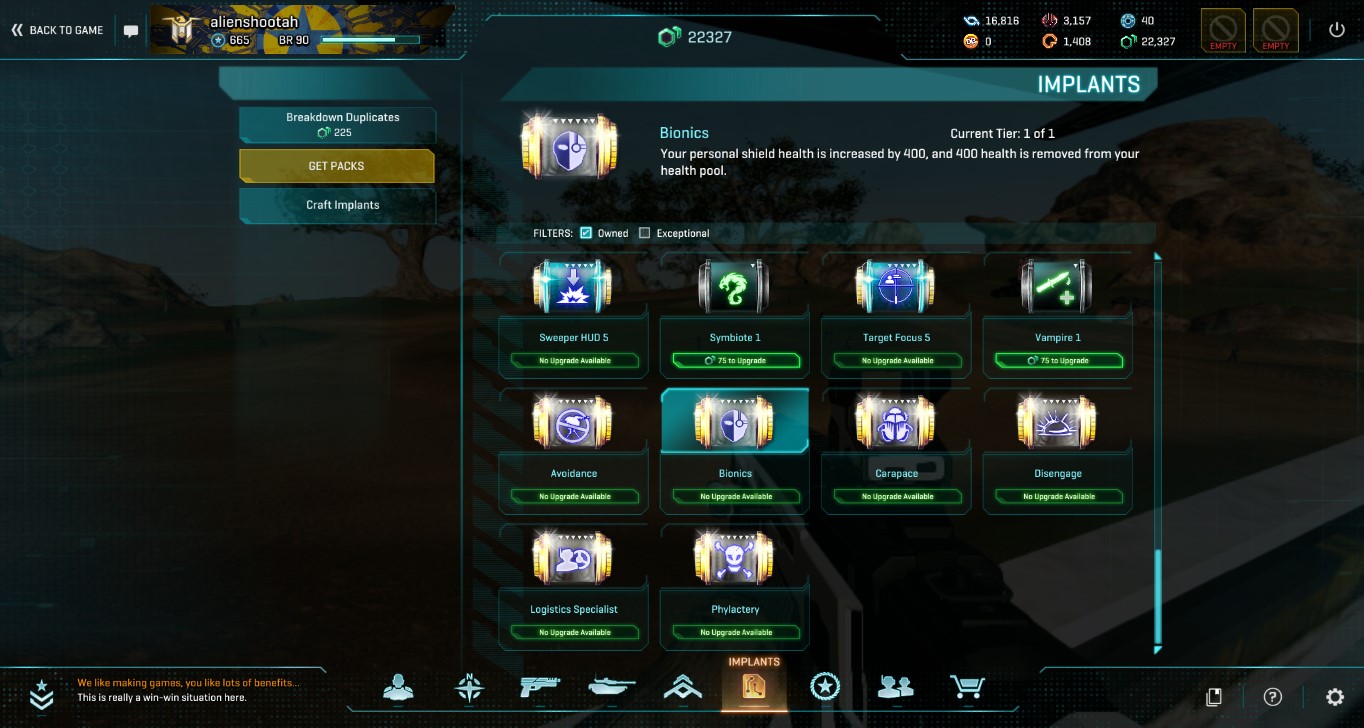

Logistics Specialist – a special implant that allows members of your squad or platoon to spawn directly into the vehicle you are piloting (such as tanks, Harassers, or Liberators).

Avoidance – a special implant that prevents you from triggering anti-personnel mines while moving. An excellent choice for Infiltrators.

Bionics – converts 400 points of health into 400 points of shield, resulting in a total of 100 health and 900 shields. It works well for a Medic using a shield regeneration tool, or when a squadmate is running one. It is also effective for solo play, as regenerating shields is easier than restoring health with medical applicators.

Carapace – converts 500 points of shield capacity into 500 health points, giving you a total of 1000 HP but removing your shield. It works well on a Medic with a healing ability or regeneration implant, or if you are healing yourself with syringes.

Disengage – a niche implant for the MAX; you don’t need to craft it. Upon activating the repair ability, it knocks back nearby enemies and increases movement speed by 25% for 3 seconds.

Phylactery – if a Medic revives you three times during a single life, you gain a 50% chance to self-revive upon your fourth death. You don’t need to craft it; it is rarely used.
What should I craft?
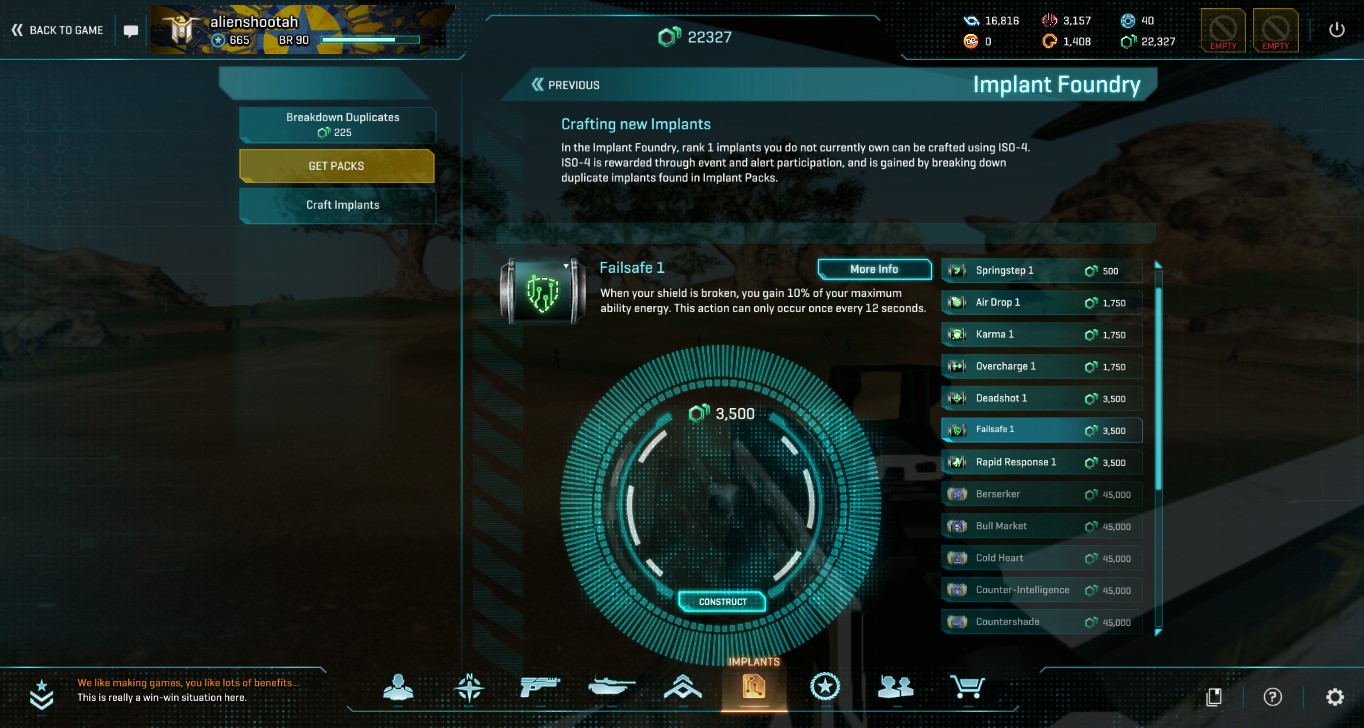
You can find the special implants listed above in loot boxes. However, if you already have 45,000 [credits], I highly recommend crafting the Infra-vision implant:

Infravision highlights enemies in bright yellow—specifically infantry (not excluding Saboteurs in stealth mode)—within a 125-meter radius; it operates continuously. You can rack up a lot of kills in enclosed spaces.
There is a similar item, the Infradine injector, but it lasts only 30 seconds and consumes resources:
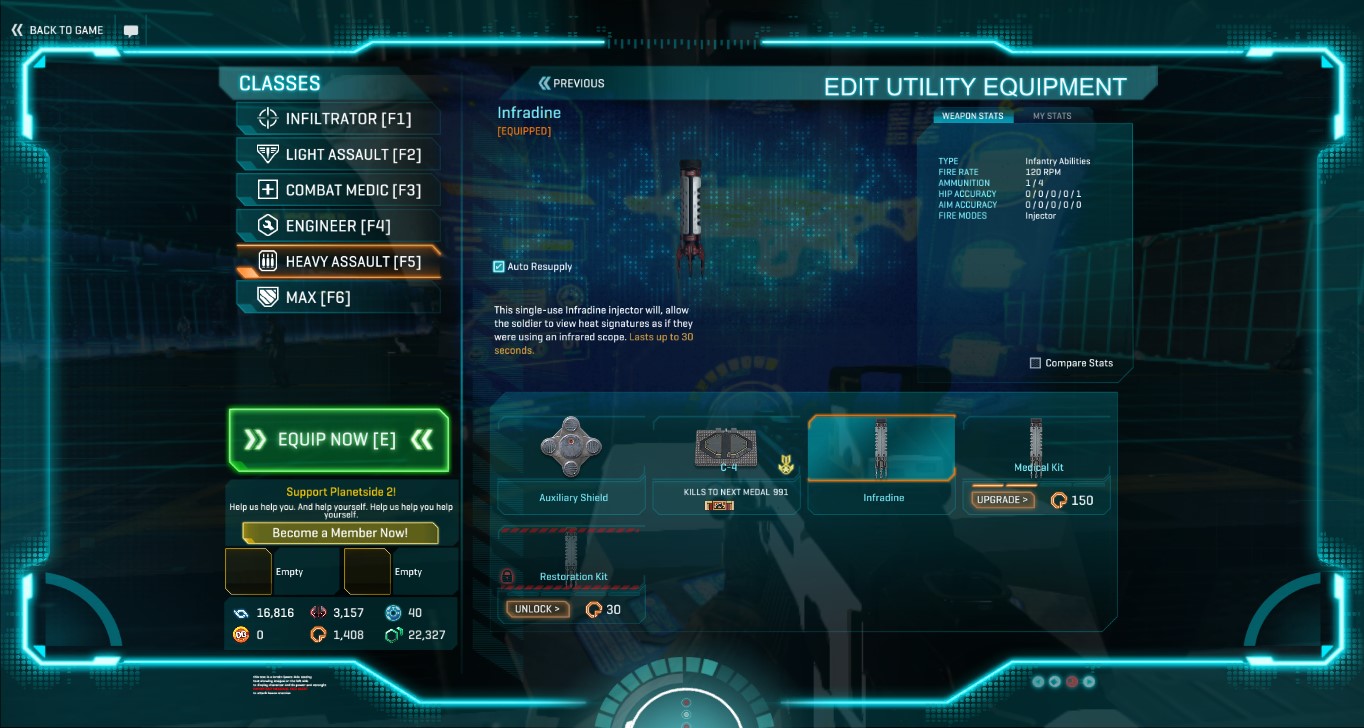
So, it’s best to use ISO-4 on that one first—you won’t regret playing with night vision:
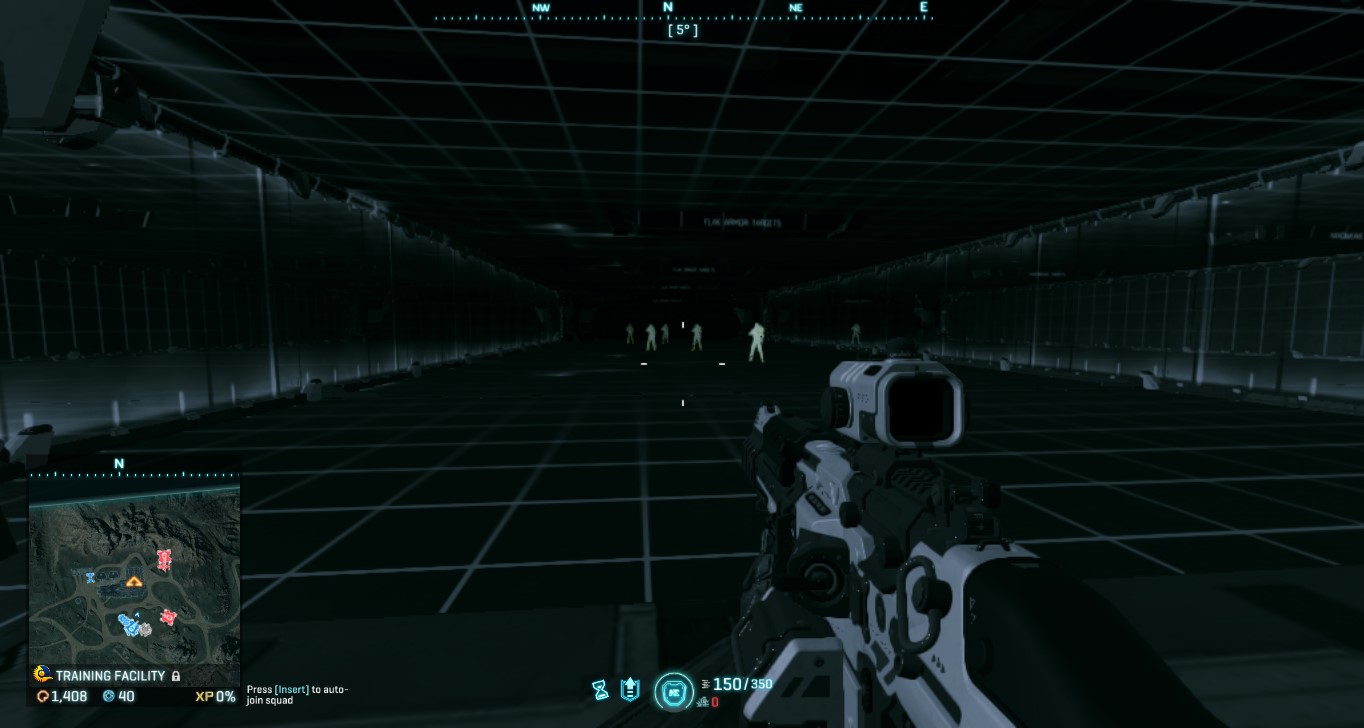
As for the remaining implants, choose based on your gameplay and fits: